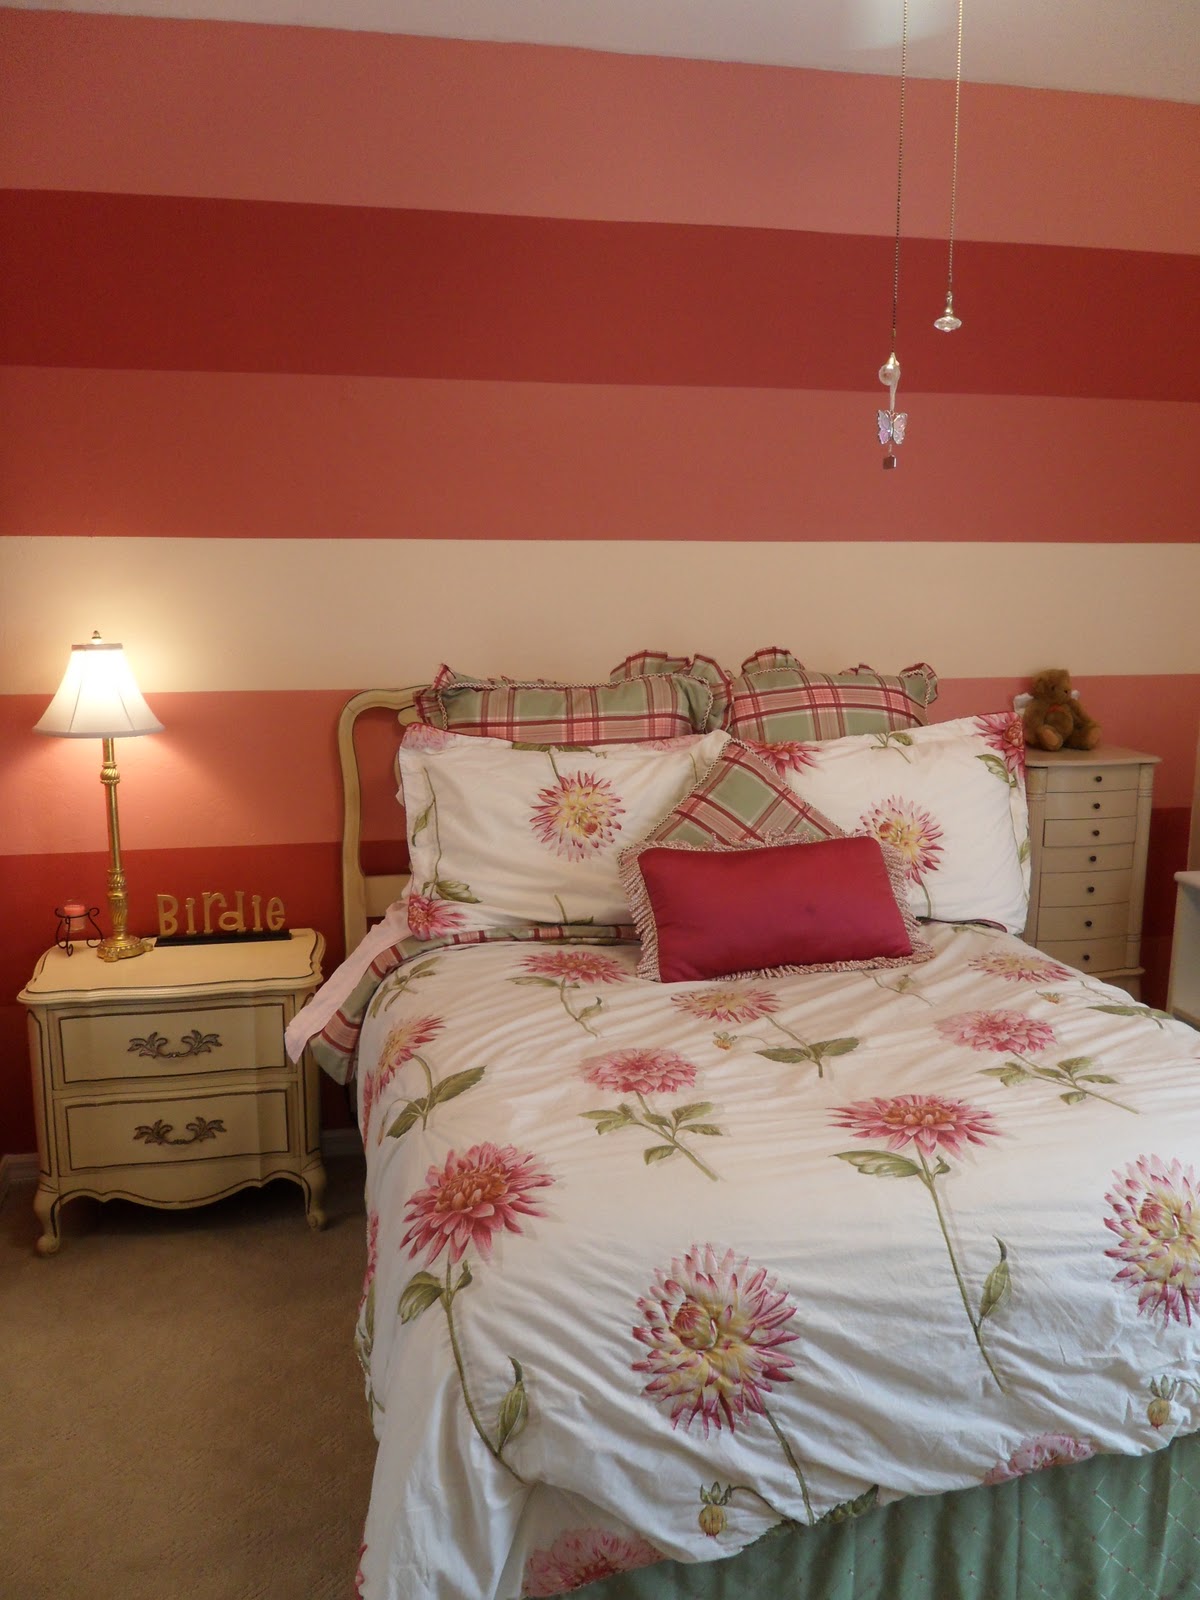
My mom was awesome enough to help me paint stripes on one of the walls in my bedroom back home. The other 3 walls are painted with shades of pinks used in the stripes.


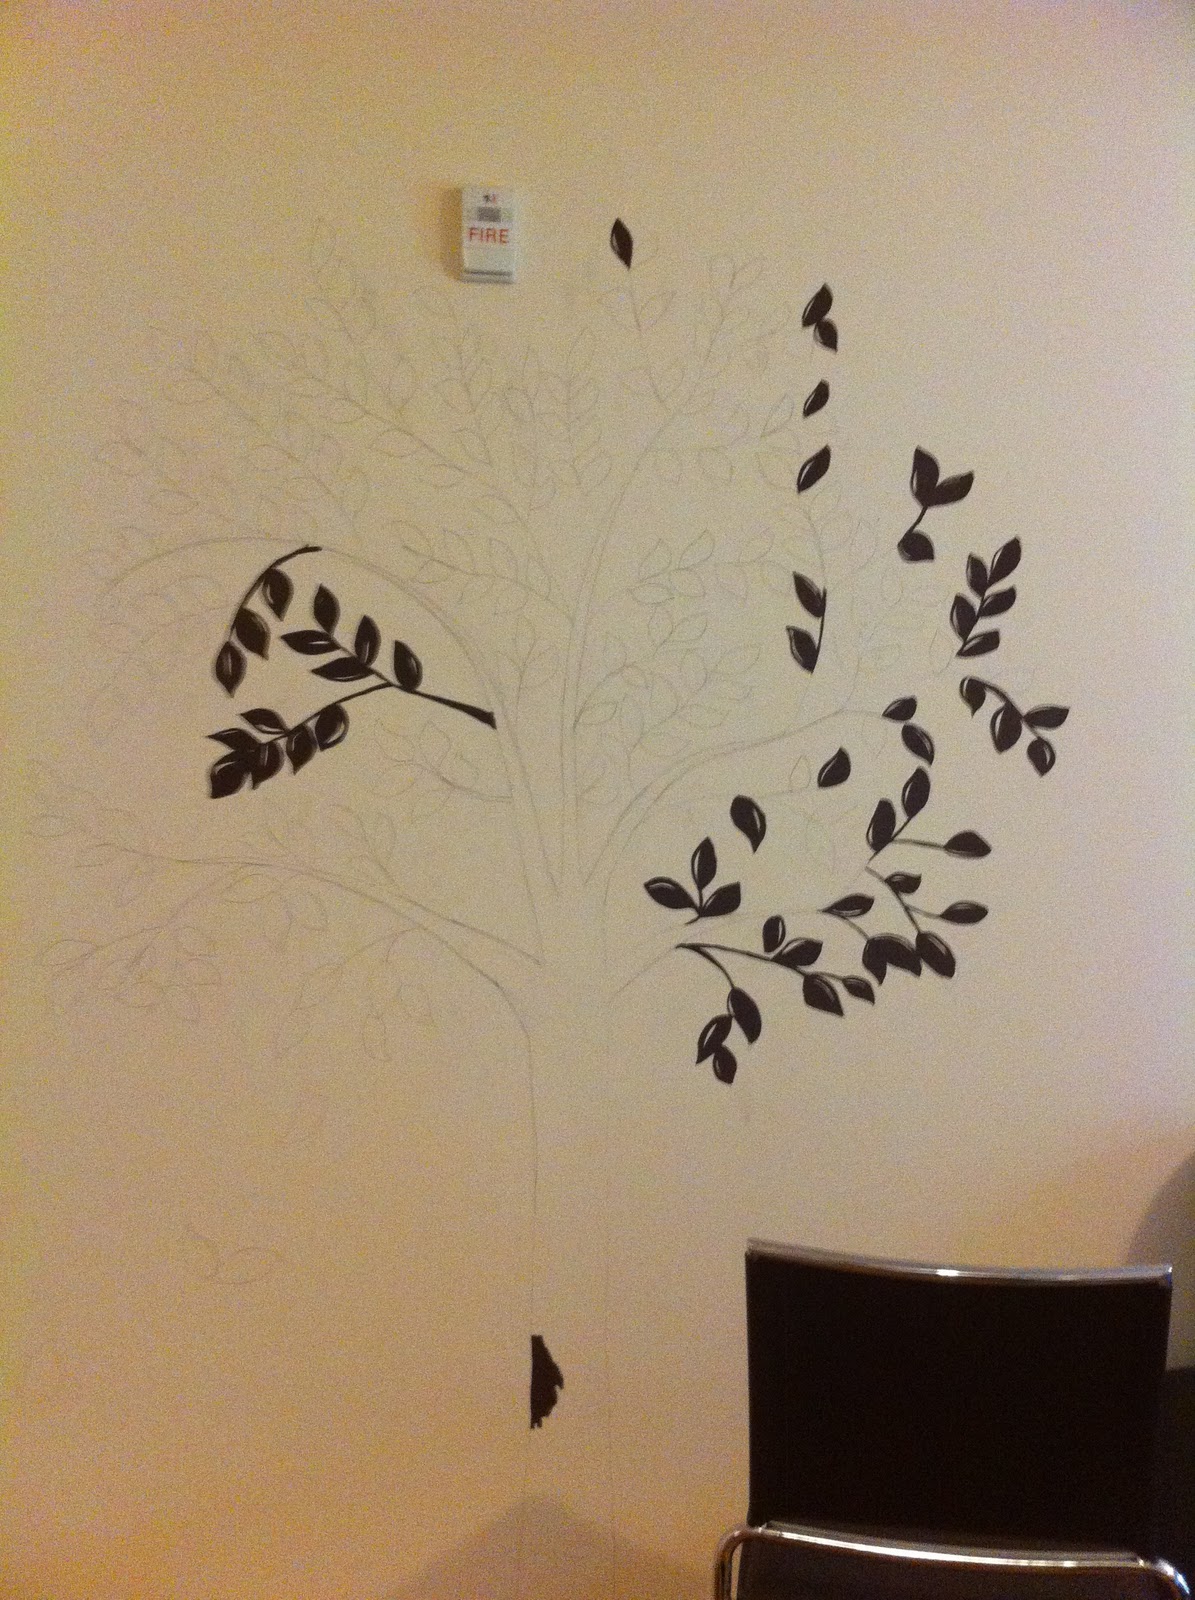
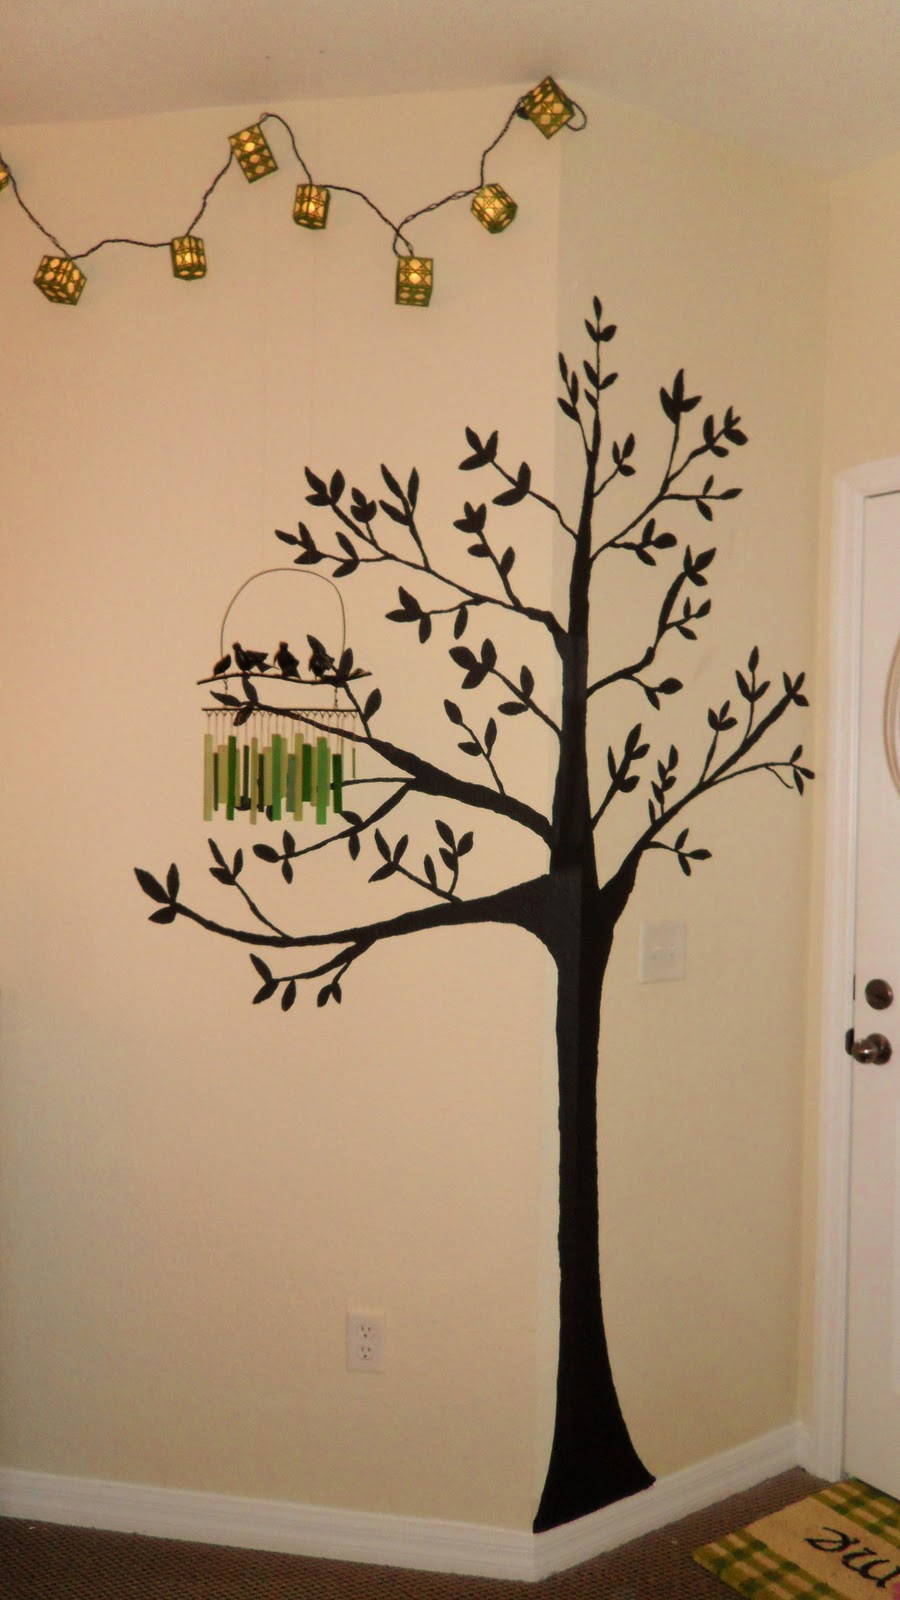
Begin by choosing a primary wall in the room that will be the main focus of the room, preferable one that does not have a lot of electrical outlets, windows, or door frames to allow for an easier project.
Choose 4 colors in similar color palette.
You may need to first “prime” the wall using a primer paint if you are covering a dark color. Otherwise paint the entire wall with one of your stripe colors. Paint 2 coats of this color. Allow to dry for about 24 hours.
Determine the number of stripes you would like. Measure the height of the wall and divide by the number of stripes to get your measurement for each stripe. My wall is 104” high and I have 7 stripes, making each stripe approx. 15” each. (You can get creative by varying the height of your stripes.)


Mark on each end of the wall with a pencil where each of the bottom lines of the stripes will be. Using a chalk line, you’ll need a helper for this, snap a straight line across the wall marking your stripes.
Sketch out your design on paper indicating the color pattern. Paint one color at a time starting with the top stripe first.
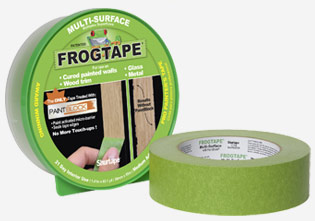
Using painters “Frog” tape, (sold at Home Depot or Lowes) place on wall along chalk line. Pressing very hard to seal. Prime the tape by painting over the top of the frog tape using the color of paint that will be below the stripe you are doing. This prevents any “bleeding” of the stripe color going under the frog tape onto the stripe below. Allow this paint to dry several hours.
Paint your top stripe and any other stripes that will be this same color. I always paint 2 coats and allow to dry for 24 hours. Carefully remove the frog tape.
Continue on to your next color by placing your frog tape on chalk line and following steps above for each color.
Patience is key in this project. It will take you several days to complete but by allowing paint to completely dry and “set”, you will have a much better outcome.
-Lauren